Before you plan anything about your home studio, you need to settle on a room first. In case you have multiple rooms to choose from, pick a medium-sized one.
Bigger rooms have a lot more echo, which we usually call natural reverb.
On the other hand, smaller rooms tend to sound dead because there’s less space to bounce between walls.
Do you remember how echoey it was when you bought your first house? And then, once it was fully decorated, there was no more echo, or at least not as much?
The same happens with your home studio and taking advantage of decorations is a must.
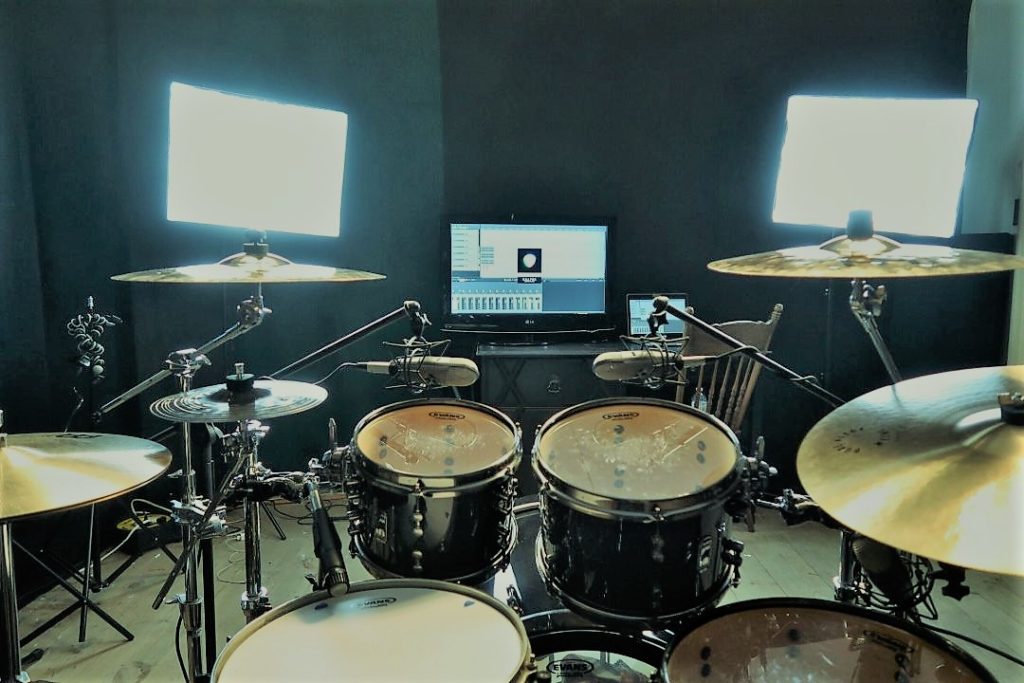
If your studio room has too much reverb, add more furniture to it. A few things you can add are a sofa, a rug under your drum set that also prevents it from sliding while reducing the vibrations or the reverb, and a basic desk.
The sofa is a matter of personal preference and the rug can be any drum rug you already own. Any of your mom’s old rugs will work just as well if you don’t own any drum rug. Just make sure it’s big enough to set up your whole kit on top.
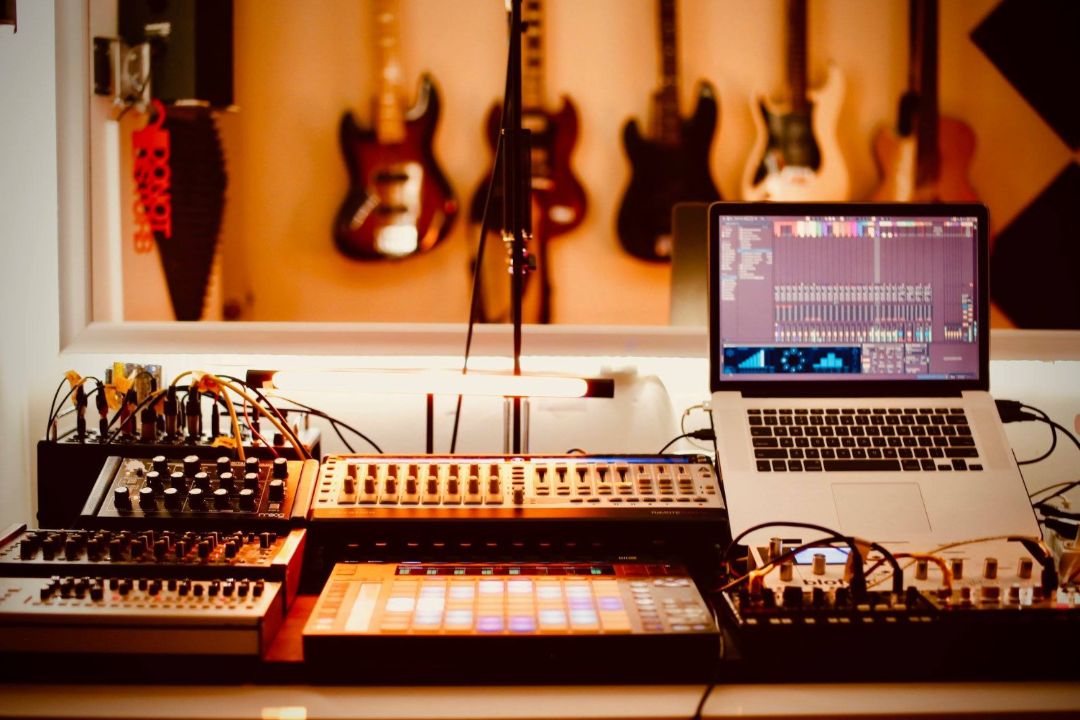
In addition, the desk, or table, should be big enough to at least place a laptop or a desktop, an interface or a mixer, and your studio monitors.
Plus, it should be near a power outlet and include a few drawers or boxes to store tools like:
- Drum keys
- Screwdrivers
- Extra felts
- Extra wingnuts
- Anything that you might need but aren’t constantly using.
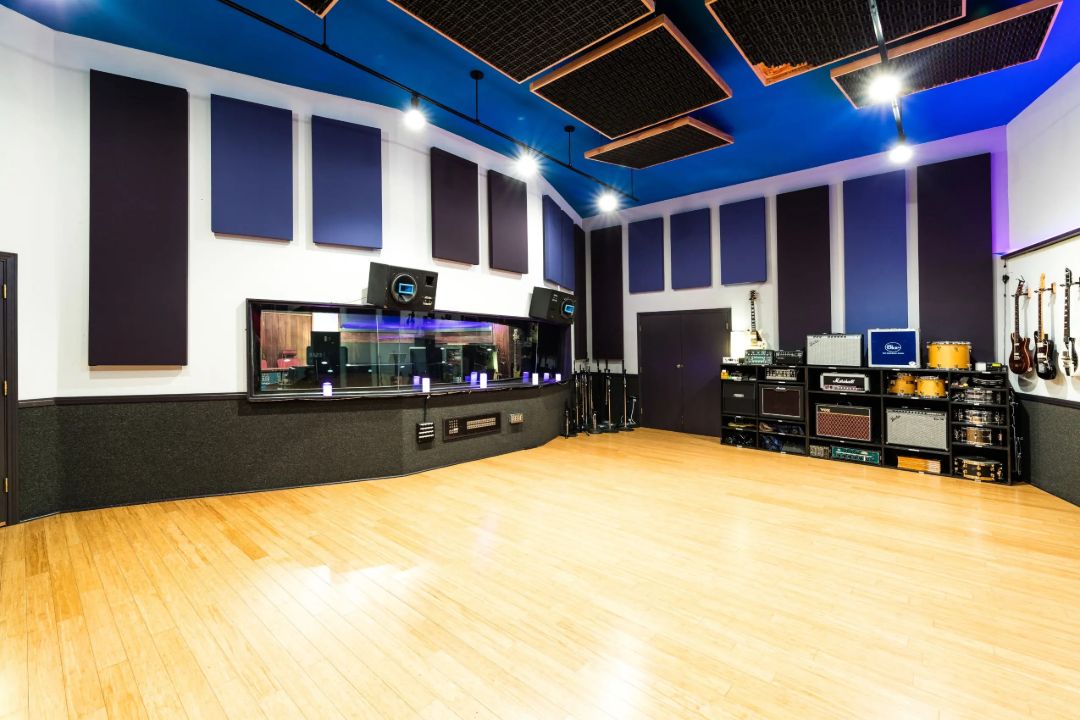
On contrary, if your room is too small and dead sounding, adding some wood panels to your walls can add some life to it. The wood improves sound reflection which is exactly what small rooms need.
Diffuser panels are a good example of wood panels that look good, and at the same time give a sense of spaciousness to your room. If you don’t want to overspend, make your diffuser panels out of regular plywood.
Don’t forget to make sure the room you choose is, or could be, comfortable enough all year round. You need a quiet place (be careful with A/Cs, heaters, fridges, etc.), that’s neither too hot nor too cold to use during extreme temperatures.
Plus, don’t forget to make sure it’s safe from floods or wildfires. No one wants to witness thousands of dollars in music gear disappearing overnight.
On that note, if the room available is too big, acoustic treatment becomes a necessity, instead of a luxury.
When you make any type of sound, it projects outwards in all directions with part of it reaching the microphone in a straight line (direct sound).
Additionally, the other part reflects off walls and other surfaces and eventually reaches the microphones.
Since it bounced off, the sound captured by the mics isn’t as natural and could potentially change the tone of the original sound.
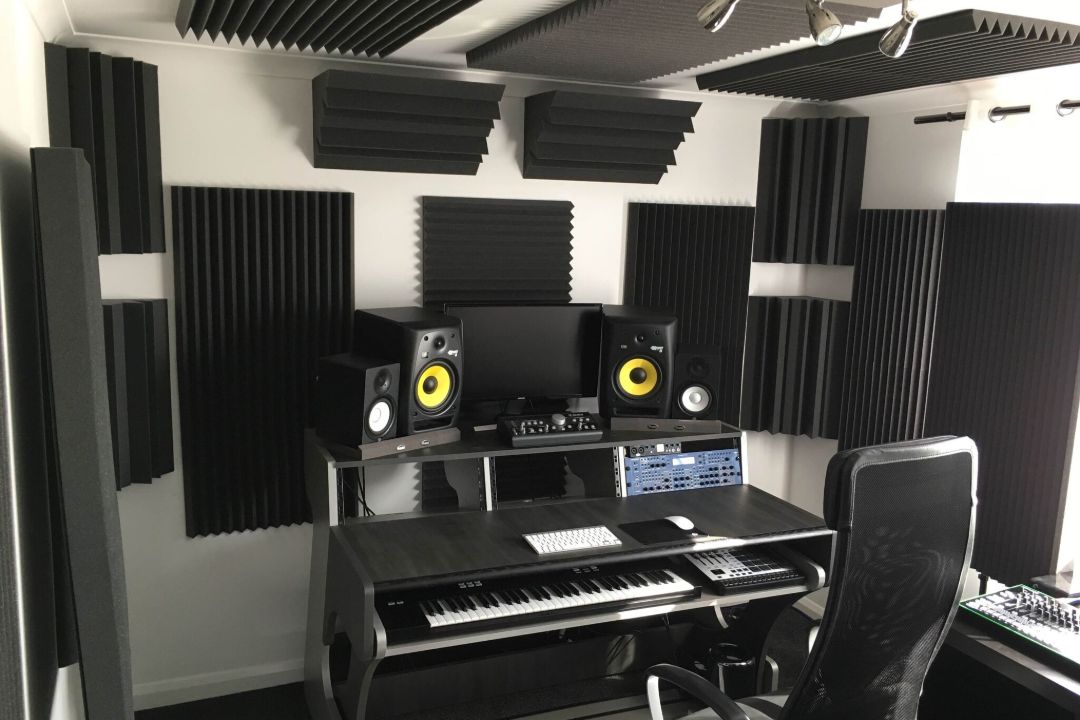
To avoid that, you can invest in acoustic treatment. Depending on the room, the desired acoustic behavior, and the budget, you can combine foam or fabric acoustic panels with wooden acoustic treatments.
The first two reduce the reverb by preventing the sound from bouncing off of hard surfaces.
On the other hand, the wooden panels disrupt soundwaves to improve the tone when compared to steel, glass, or concrete surfaces.
Different Types of Acoustic Treatments
- Bass Traps: often placed in the corners of the room to deal with lower frequencies (fiberglass and foam);
- Acoustic Panels: reduce reverb by absorbing sound waves, but being thinner reduces their effectiveness with lower frequencies;
- Ceiling Clouds: reduce the excessive reverb in rooms with high ceilings. Usually made with foam and/or fabric, they are specifically designed for ceilings;
- Acoustic Foam: similar to acoustic panels, but sold in more of a raw material form. They are considered a heavy-duty acoustic treatment, and are mostly used at the studio instead of a business that needs acoustic treatment;
- Fiberglass Insulation: this is more soundproofing than acoustic treatment since its main goal is to prevent sound from entering or exiting the room;
- Helmholtz Resonators: with an (almost) spherical shape, a small neck, and a hole in both ends, they are less popular than the alternatives because they are not as effective for general use. On the other hand, they are perfect to resolve a specific frequency issue that might be causing some trouble;
- Diffusers: instead of absorbing the sound, these panels reflect sound waves in random directions. That reduces the natural reverb of the room.
Now that you chose the place, it’s time to set up your drum set. If you’re looking at how to record drums, it’s highly unlikely that you don’t know how to.
It’s also pretty safe to assume that you already own a drum set if you’re planning to learn how to record drums.
Either way, if for some reason you don’t know how to set up a drum set, HERE’s my step-by-step guide.
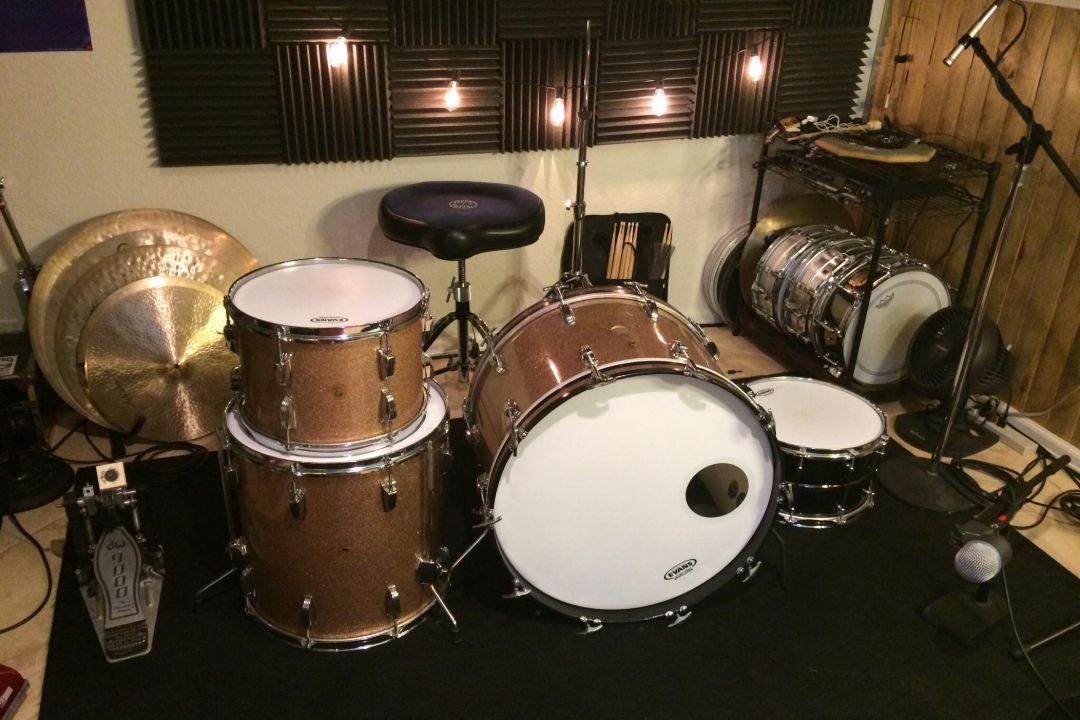
Finally, with your drum set in place, it’s now time to do some much-needed maintenance:
- If your drum heads are too old and sounding dead, it’s time to change them. Loosen the tension rods and then remove the drum hoop and the old drum head. Place the new drum head on the drum with the hoop on top and tighten back every tension rod.
- Basic maintenance is something that you should do periodically. If you don’t, take some time to do so before tightening back every tension rod. Check for missing screws, broken tension rods, throw-offs that don’t work properly, squeaky bass drum and hi-hat pedals, and everything else you can think of.
- With new drum heads, tune them high if you play more jazz or pop, and low if you play rock or metal most of the time. If you have a hard time tuning by ear, it might be time to invest in a drum tuner. HERE’s my article on the best drum tuners and step-by-step guides on how to use every single one of them.
- In the end, if your tuned drums have too many overtones and extra buzzing, it’s time to use some dampening tools like silicon gels, dampening rings, duct tape, Remo Muff’l Control rings, pillows, or blankets (for the bass drum).
At this point, with everything set up and some basic maintenance concluded, all you need is a competent drummer… and a room full of studio gear.
Besides the drum set, the computer is probably where you spend the most when building a home studio.
Thankfully for us, in this day and age, most people own a computer of some sort. In that case, unless it’s a 10-year-old computer or worse, it’s probably fast enough to mix and produce music.
With that in mind, I recommend using what you have for now, until you feel it’s slowing you down.
If you need or want an upgrade, HERE’s a good article by MusicRadar on the best computers for music production.
In general, you need a PC with at least 8Gb of RAM, preferably 16Gb, running a Core i5 processor from the past three years and at least 1TB of memory, between HDDs and SSDs.
Go for a laptop if:
- It’s useful for additional activities like college or live performances;
- You travel a lot and need to produce and mix music on the go;
- There’s not enough space in your studio for a full desktop PC.
Go for a Desktop PC if:
- Most laptops don’t offer enough processing power for the type of music you plan to produce;
- You’re on a budget and can’t afford to pay the premium for a laptop;
- You value upgradability over portability;
- The goal is to invest in a powerful stationary machine focused on music production.
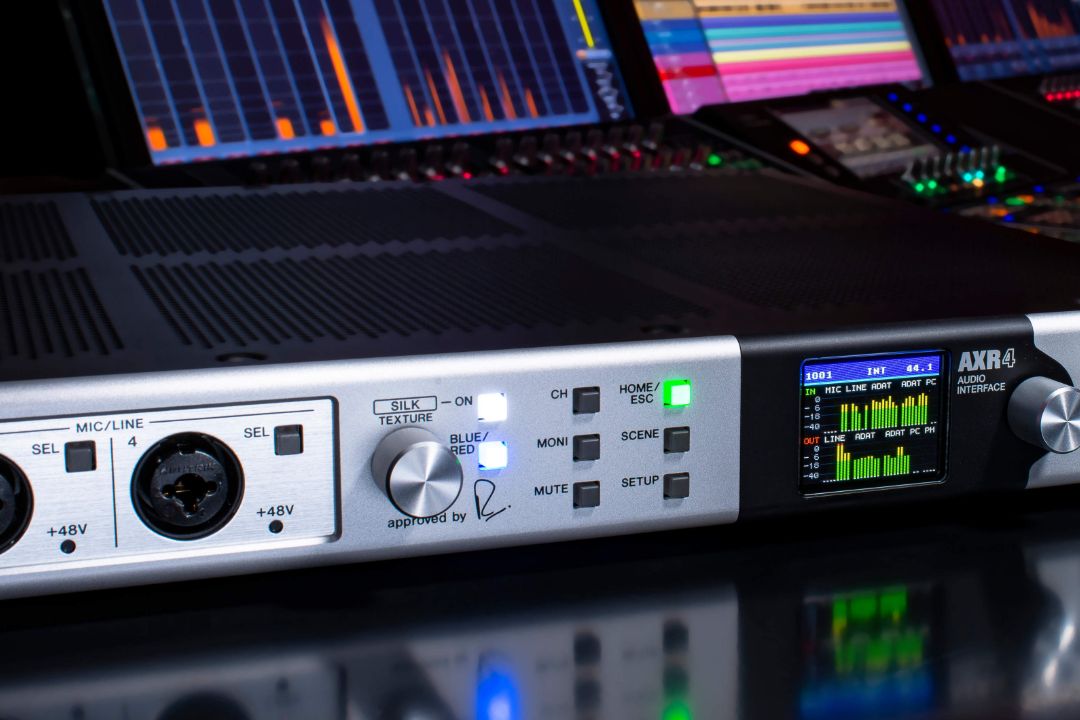
The main job of an audio interface is to convert the signals coming from musical instruments and microphones into a format recognizable by the DAW on your computer.
You can simply look at it as a bridge that connects all your musical instruments and microphones to the computer, but also allows you to get sound out of your computer through headphones and speakers.
Newer audio interfaces connect to your computer through USB, but Firewire and Thunderbolt connections are also available. For the sake of simplicity, buy an interface with a USB connection.
As a drummer, the most important feature of an audio interface is its number of XLR inputs. Considering any basic 5-piece drum kit needs at least 7 microphones, you need to look through audio interfaces with 8 XLR inputs.
It’s important to remember that cheaper also means lower-quality audio interfaces. What comes with lower quality is bigger latency (known as lag) and static noise, but for a home studio, they work just fine.
With that in mind, these are the most popular audio interfaces (with 8 XLR inputs) among drummers:
- Behringer Uphoria UMC 1820 (the one I own and the cheapest available in Europe)
- Tascam US 16×08 (another cheap option if you’re in the US)
- Focusrite Scarlett 18i20 (great sound quality, top-rated)
- PreSonus Studio 1824c (good price-quality ratio)
- Roland UA-1010 Octa-Capture (mid-tier quality option)
- Steinberg UR816C (made by one of the best in the interface world)
- Focusrite Clarett 8Pre USB (premium option).
Wanna read more about the subject? HERE’s my article on the best audio interfaces for drummers.
If you’re anything like me and only plan on doing some amateur recordings, both the UMC 1820 and the US 16×08 work well enough. The Focusrite Clarett 8Pre USB is the best option under $1.000 for professional sounding sessions.
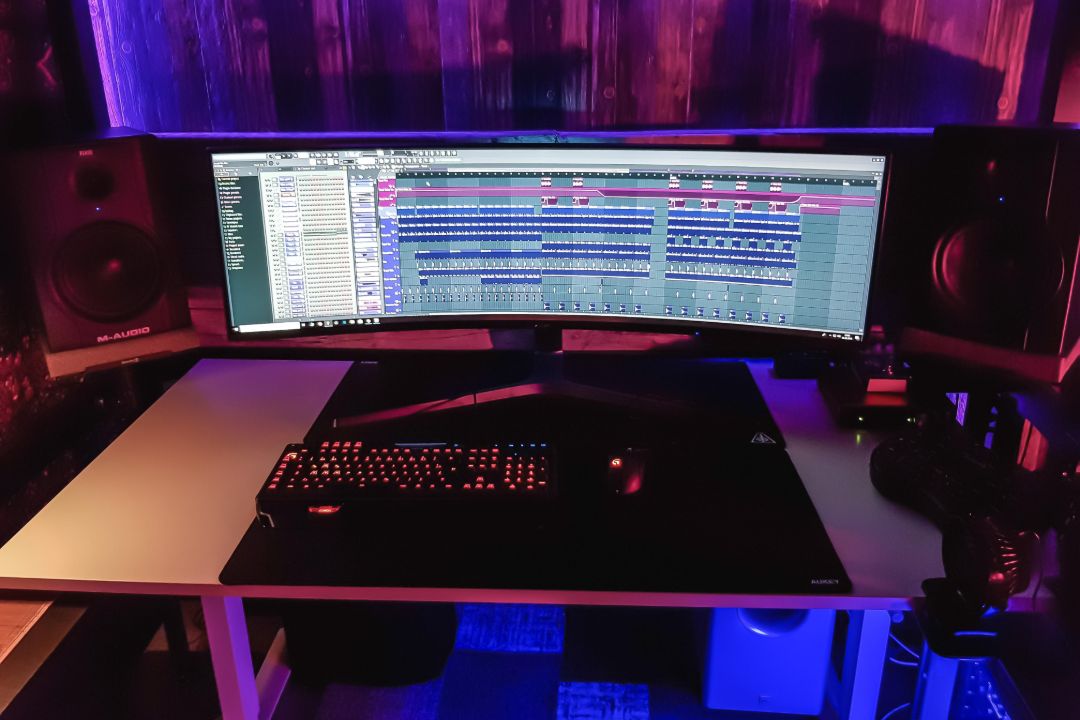
DAW, or Digital Audio Workstation, is the software you use to make music with all the hardware at your new home studio.
To summarize, you can record a live or virtual instrument and/or voice, loop, edit and mix audio, or simply turn MIDI notes into printable sheet music.
Some DAWs are ideal for beginners, while others are far more advanced. There’s also an option for every wallet since their price range goes from free to a few hundred dollars a year.
I’m not going into detail, but here are the most popular Digital Audio Workstations:
- Logic Pro X – $200, available for mac, used by David Guetta, Swedish House Mafia, and Hardwell;
- Ableton Live – $99, available for pc and mac, the preference of EDM gods like Skrillex and Deadmau5;
- Avid Pro Tools – industry standard, $30/month (has a free version), available for pc and mac, used by Dr. Dre and Kanye West;
- GarageBand – free with all Macs, not available for pc, projects compatible with Logic Pro and GarageBand mobile, lacks advanced features;
- Audacity – free, lacks advanced features and the interface is completely outdated;
- FL Studio – $99, available for mac and pc, ideal for EDM, lifetime updates;
- Cubase – $100, available for mac and pc, one of the original DAWs.
With an acoustically treated room, a well-tuned drum set, and an interface connected to a computer with a ready-to-use DAW, it’s now time to pick the microphones.
Your two options are buying individual mics, or just grabbing a drum mic kit. If you’re a beginner, or someone on a tight budget, buying a drum mic kit is the smartest decision.
Drum mic kits are cheaper than the alternative, and leave no room for mistakes since every mic that comes with it is perfectly labeled and serves a purpose.
The number of mics you buy depends on how many XLR inputs your interface has. In this article, I focus on interfaces with eight inputs simply because having a separate mic on each drum gives you the most control over your sound.
That doesn’t mean you can’t record drums with less than seven mics, since there are specific techniques to record with anything from one to six microphones.
Before diving into my suggestions, let’s take a look at the 3 main types of microphones:
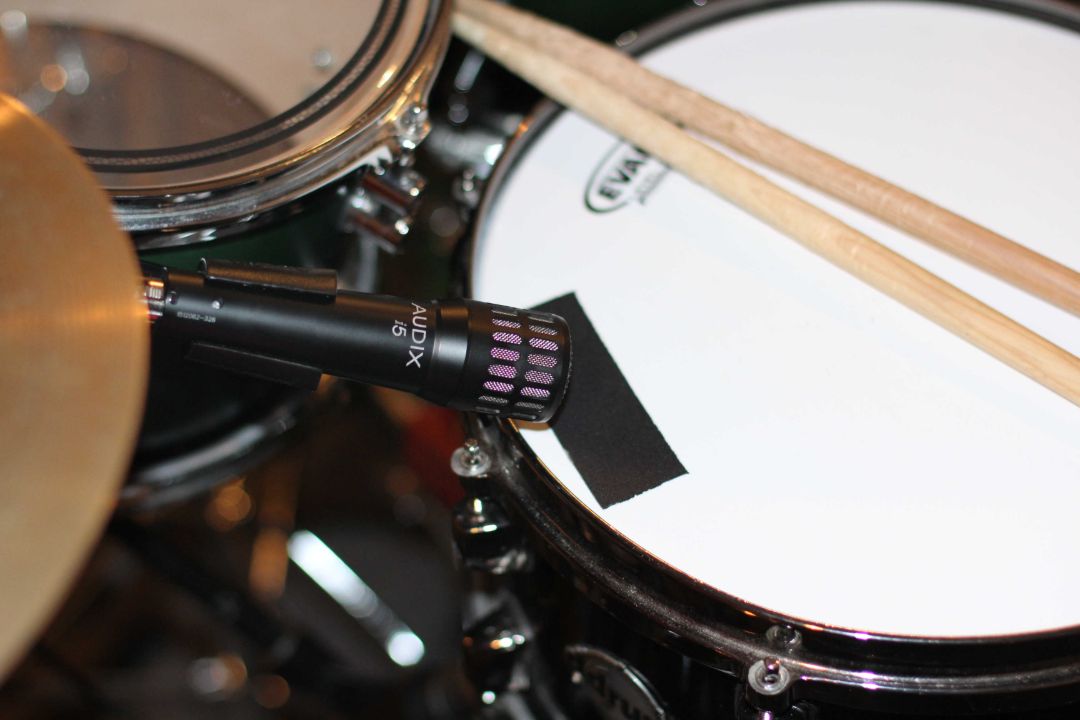
- Dynamic: the least sensitive, least expensive, and most durable microphones. They are seen as a versatile workhorse often used to record snare, bass drum, and toms;
- Condenser: more sensitive than dynamic mics, they offer the widest frequency response. In a drum studio, their job is to capture the cymbals. Plus, as overheads, they also contribute to the overall sound of the drum set.
- Ribbon: extra sensitive, paired with much greater fragility. They capture honest and accurate representations of the sound source, which is why they are often used as “room mics”, and sometimes as overheads. Due to being the most expensive type of mics, you rarely find them in home studios.
With that out of the way, here are the best drum mic kits you can buy:
- AKG Drum Set Session I – 7 microphones, cheap, good sound for the price, reputable brand;
- Shure PGADRUMKIT7 – 7 microphones, 7 XLR cables, entry-level price, reputable brand;
- Audix DP7 – 7 microphones, instructional DVD, one of the best under $1000 kits;
- Sennheiser e600 – 7 microphones, pro-sounding, reliable, reputable brand;
- Earthworks DK7 – 7 microphones, professional studio sound quality, expensive;
If you want to learn more about each drum mic kit, HERE’s my article about the best drum mic kits currently available.
In case you would rather invest in individual mics to increase the control of the sound you achieve, here’s a few industry standards and how to set them up:
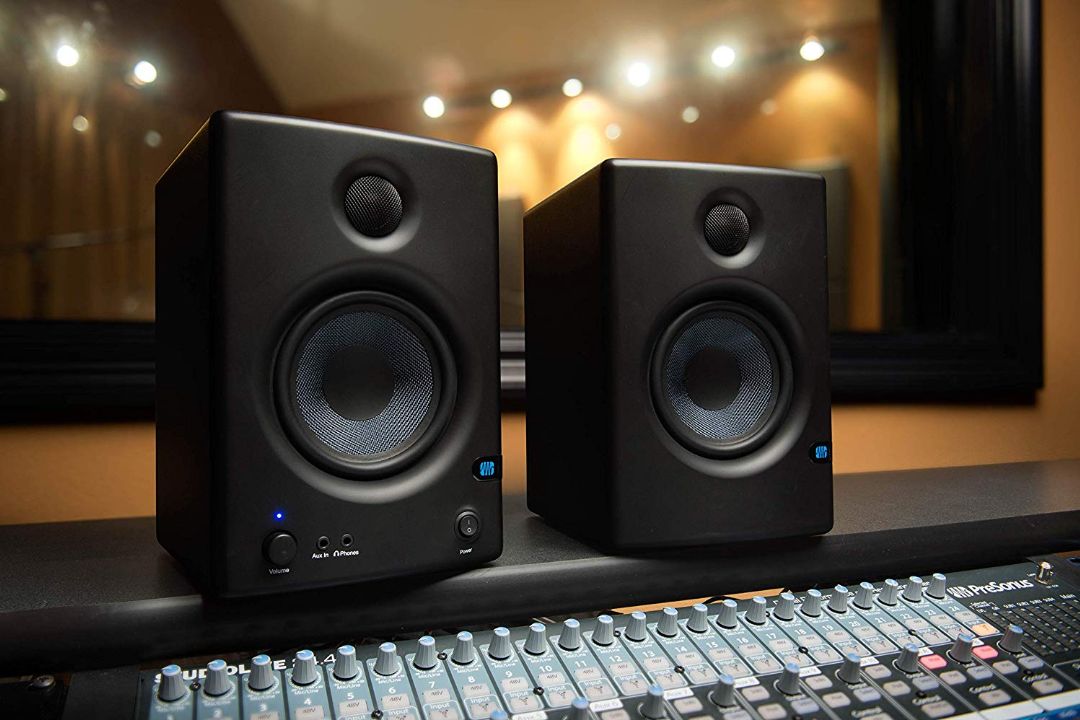
Monitor Speakers help you mix your music and stop you from constantly wearing headphones and damaging your hearing.
In terms of headphones vs speakers, it’s all a matter of personal preference. For me, no studio feels complete until it includes a pair of monitor speakers.
If you’re thinking about purchasing a new set of monitor speakers, here’s a summary of the best options on the market:
- KRK Rokit 7 G4 – good and balanced sound quality, awesome design, and affordable price;
- Focal Shape 65 – clear sound, controlled response, and fairly priced;
- Focal Twin6 Be – best seller, precise sound image and versatile.
Your decision should be based on the budget available, how big your room is, and what your current headphones are (if you own any).

The number of microphones stands you need depends on the number and the type of microphones you plan to use.
With the standard 7 mics recording technique, you need at least two microphone stands for the pair of overheads and one for the bass drum mic (unless you leave it on top of a pillow inside the bass drum).
The snare drum mic doesn’t have a clip? Well, now you need four. If neither the tom-toms nor the floor-tom mics come with a clip, then you need as many as seven microphones stands to accommodate every single microphone.
Anyway, the microphone stands are divided into half a dozen categories: tripod stands, tripod boom stands, round base stands, low-profile stands, desktop stands, and overhead stands.
For us, drummers, the most common ones are low-profile stands (for the bass drum mic) and overhead mic stands (for the pair of overhead mics).
I say this a lot, but as far as the microphone stands go, you should always get the best your budget allows you. No one wants to live through the scary experience of watching one of their mics hit the floor.
Some of the best and most popular microphone stands are:
- K&M (210/9; 25950; 210/2)
- Hercules (MS533B)
- Atlas Sound (MS-10C; MS-12C; MS-20)
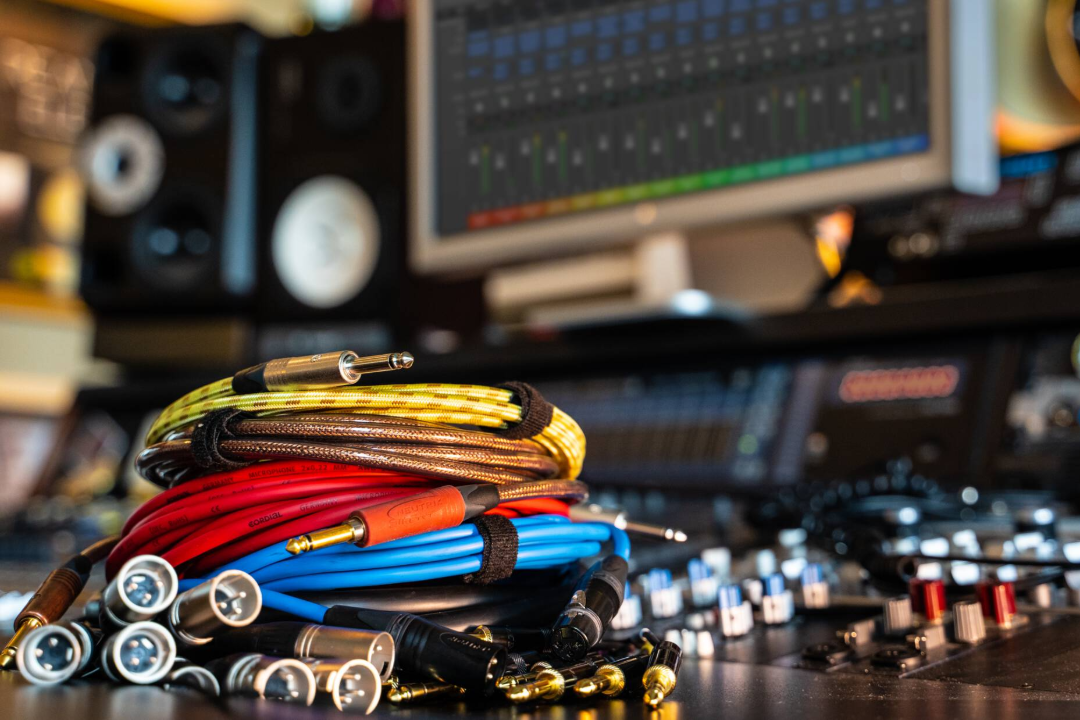
Another important thing in any home or professional studio is a set of cables, especially the XLR ones.
You want to avoid the cheapest ones, because they tend to break quickly, don’t work at all and you probably won’t be able to activate the warranty.
Since the topic is all about recording drums at home, you don’t need the best of the best either.
In the end, just pick something that costs between $20 and $40, because it usually combines a good amount of quality and affordability.
To identify the length of the XLR cables you should buy, don’t forget to measure the distance between your interface and your drum kit, and then add a couple of feet for good measure.
Some of the best XLR cables manufacturers, in terms of build quality, performance and variety are:
- Mogami;
- Sommer;
- Klotz;
- Cordial;
- Pro Co;
- D’Addario.
Besides XLR cables, every studio should own USB and MIDI cables, as well as Cat5e and of course, some spare power cables.
Slightly less important but still essential are the TRS, TS, and RCA cables. Your future self will thank you for buying them.