
 Features:
- Edge Gage;
- Tunning chart and instructions;
- Soft foam lined box to protect the tuner.
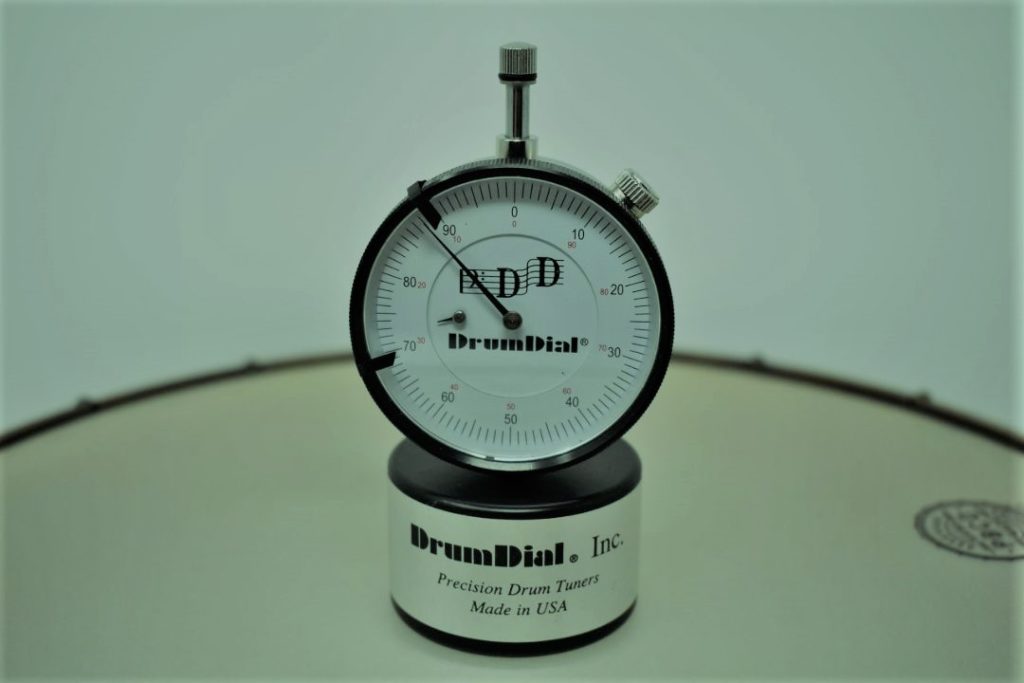
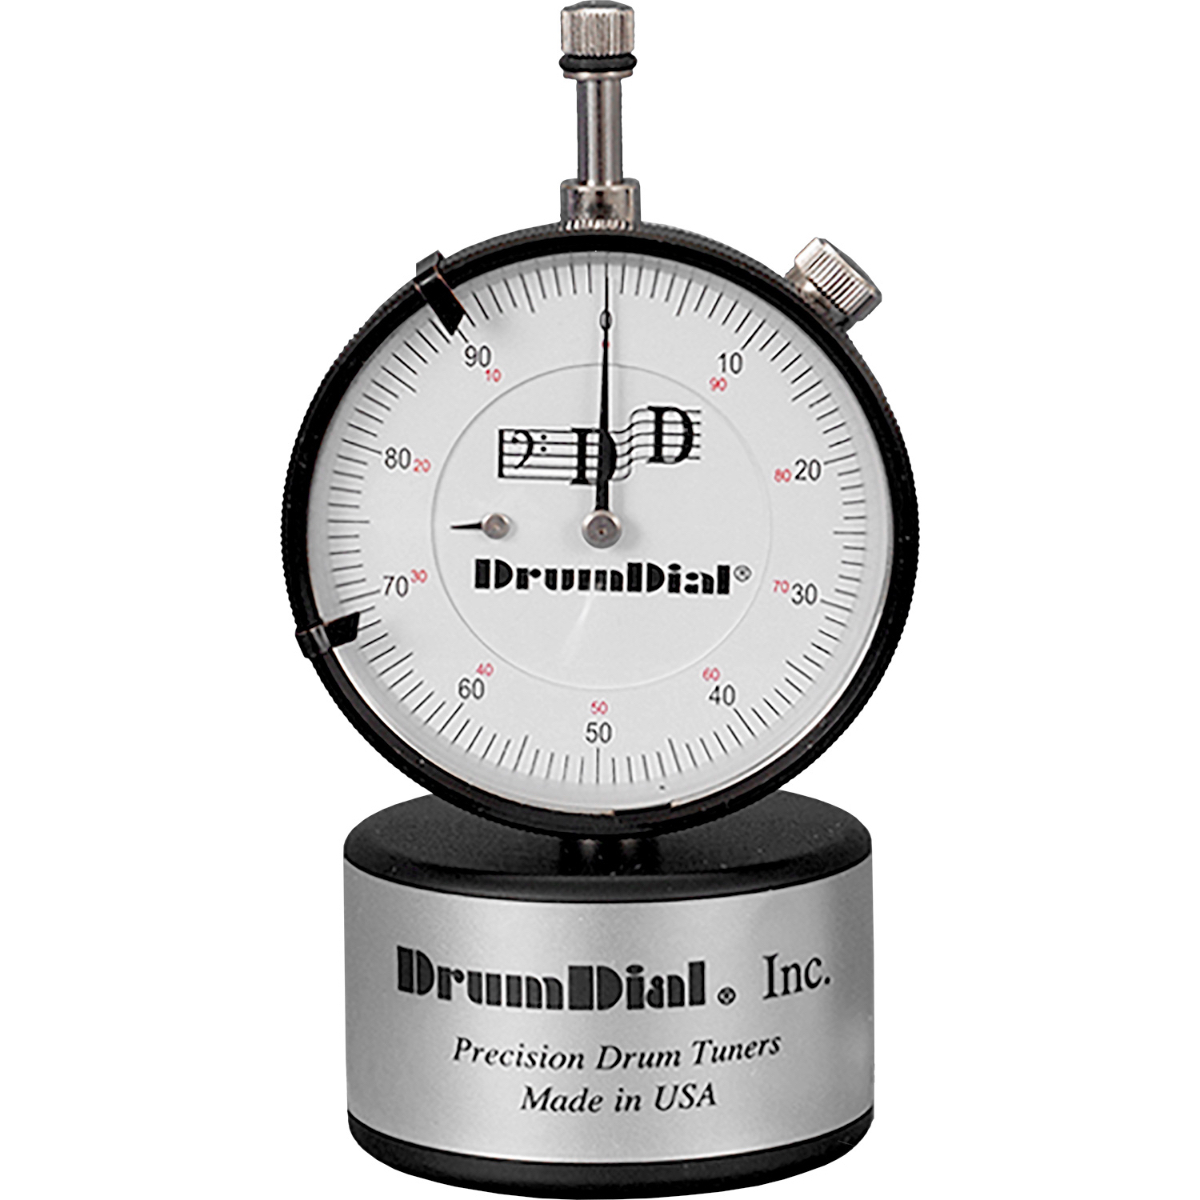
My first suggestion is the DrumDial. It’s the original and currently one of the best and most popular drum tuners available.
It works by measuring your drums’ tympanic pressure (drum head tension), instead of something like the note or tension rod torque.
The best part about the DrumDial is being extremely well made and sturdy enough to last you a lifetime with proper maintenance.
Since it measures drum head tension, hitting the drums while tuning isn’t necessary and you’ll be able to tune them anywhere, no matter how loud your surroundings are. That’s something impossible to do if you tune by ear, for example.
With DrumDial, tuning has never been easier and faster, plus, you can repeatedly tune to a particular pitch, every single time.
Unfortunately, there’s no way to record your readings within the DrumDial itself, so make sure you always take note of your readings if you want to repeat them in the future.
The tool is compact and user-friendly, but from time to time you’ll need to manually re-calibrate it. It’s honestly not that hard, you just need to follow THIS quick video from DrumDial.
On top of that, it’s almost impossible to read under low light conditions, and it doesn’t offer as many functions as most digital drum tuners.
Apart from that, it’s the most affordable drum tuner that works well, considering you can usually buy it for $60 or less. That seems more than a fair price to pay to always have a drum kit sounding like a million bucks.
 Features:
- Custom foam-lined protective hard-shell case
- Glass calibration standard
- Edge Gage
- Tuning chart and instructions
- Extra CR2032 battery
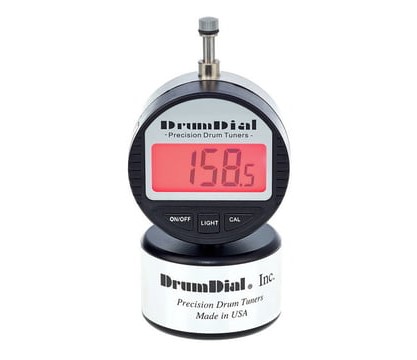
If you’re not into analog tools, you’ll be pleased to know that you can buy DrumDial’s younger brother instead: the Digital DrumDial.
Basically, it includes all the features of the original DrumDial, but in digital form. Being digital makes it considerably more expensive but also adds a couple of nice details.
To begin with, one of the pros of the new Digital DrumDial is how easier it is to read thanks to the backlight on the LCD display.
Besides that, it’s also much more accurate than the analog version with the gauge system.
On the other hand, one of the cons of the digital version is being powered by regular CR2032 batteries that will eventually die. You must carry spare batteries if you don’t want to be caught with your pants down.
Unfortunately, even though it’s digital, there’s still no way to save the tensions into some type of memory to replicate them in the future.
To sum it up, it works exactly like the original DrumDial, by measuring the drum head tension. It also works just as well in loud environments without the need to hit the drums.
The Digital DrumDial is also as well made and as sturdy as the original one, which means re-calibrating it and replacing the batteries once in a while will most likely be the only maintenance needed.
On the contrary, the price increase makes me question if it’s worth it to pay a premium for an LCD with a backlight when we can get a far more advance digital drum tuner for a similar price.
 Features:
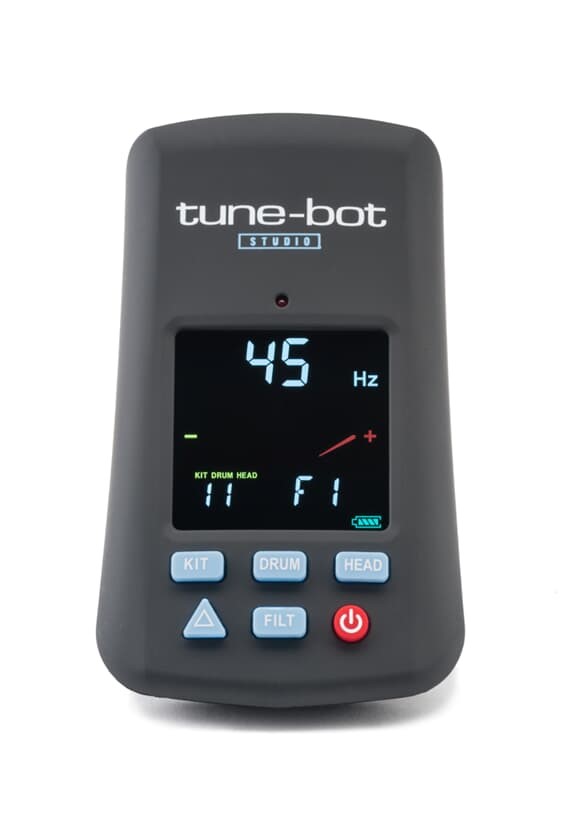
- Tune-Bot Studio
- Hard Case
- 2 AAA Batteries
Let me start by saying that this is, in my opinion, the best drum tuner available and the reason the price of the Digital DrumDial doesn’t convince me.
Unlike most drum tuners, you clip it to your drum’s rim and use it like you would use any guitar tuner.
As a result, it works by measuring the fundamental pitch or the frequency of your drum near each lug, allowing you to adjust the tension accordingly.
On top of that, the drum tuner includes an LCD that shows the frequency, pitch dial, note, and octave as well as the battery life.
In this case, a few modes take this drum tuner to the next level. The difference mode is really useful to match all the lugs, by selecting one lug pitch as a reference and comparing it to the different lugs’ readings
The filter mode avoids false readings by allowing you to save the latest frequency measurement as a reference while rejecting sounds more than 20% higher or lower than that same reference.
Finally, absolute mode, which is the standard one, shows the pitch in Hz, as well as the nearest note and octave.
Another great thing about Tune-Bot Studio is the ability to save pitch settings of 50 individual drums, consisting of 5 drum sets with 10 drums each.
That’s is particularly important if you have multiple drum sets that are tuned differently due to the nature of their materials, drum heads used, or tones you want to achieve.
In conclusion, the two negative aspects of the Studio are the inability to be used in loud environments and not being able to tune your drums silently since you need to hit your drums for it to work.

 Features:
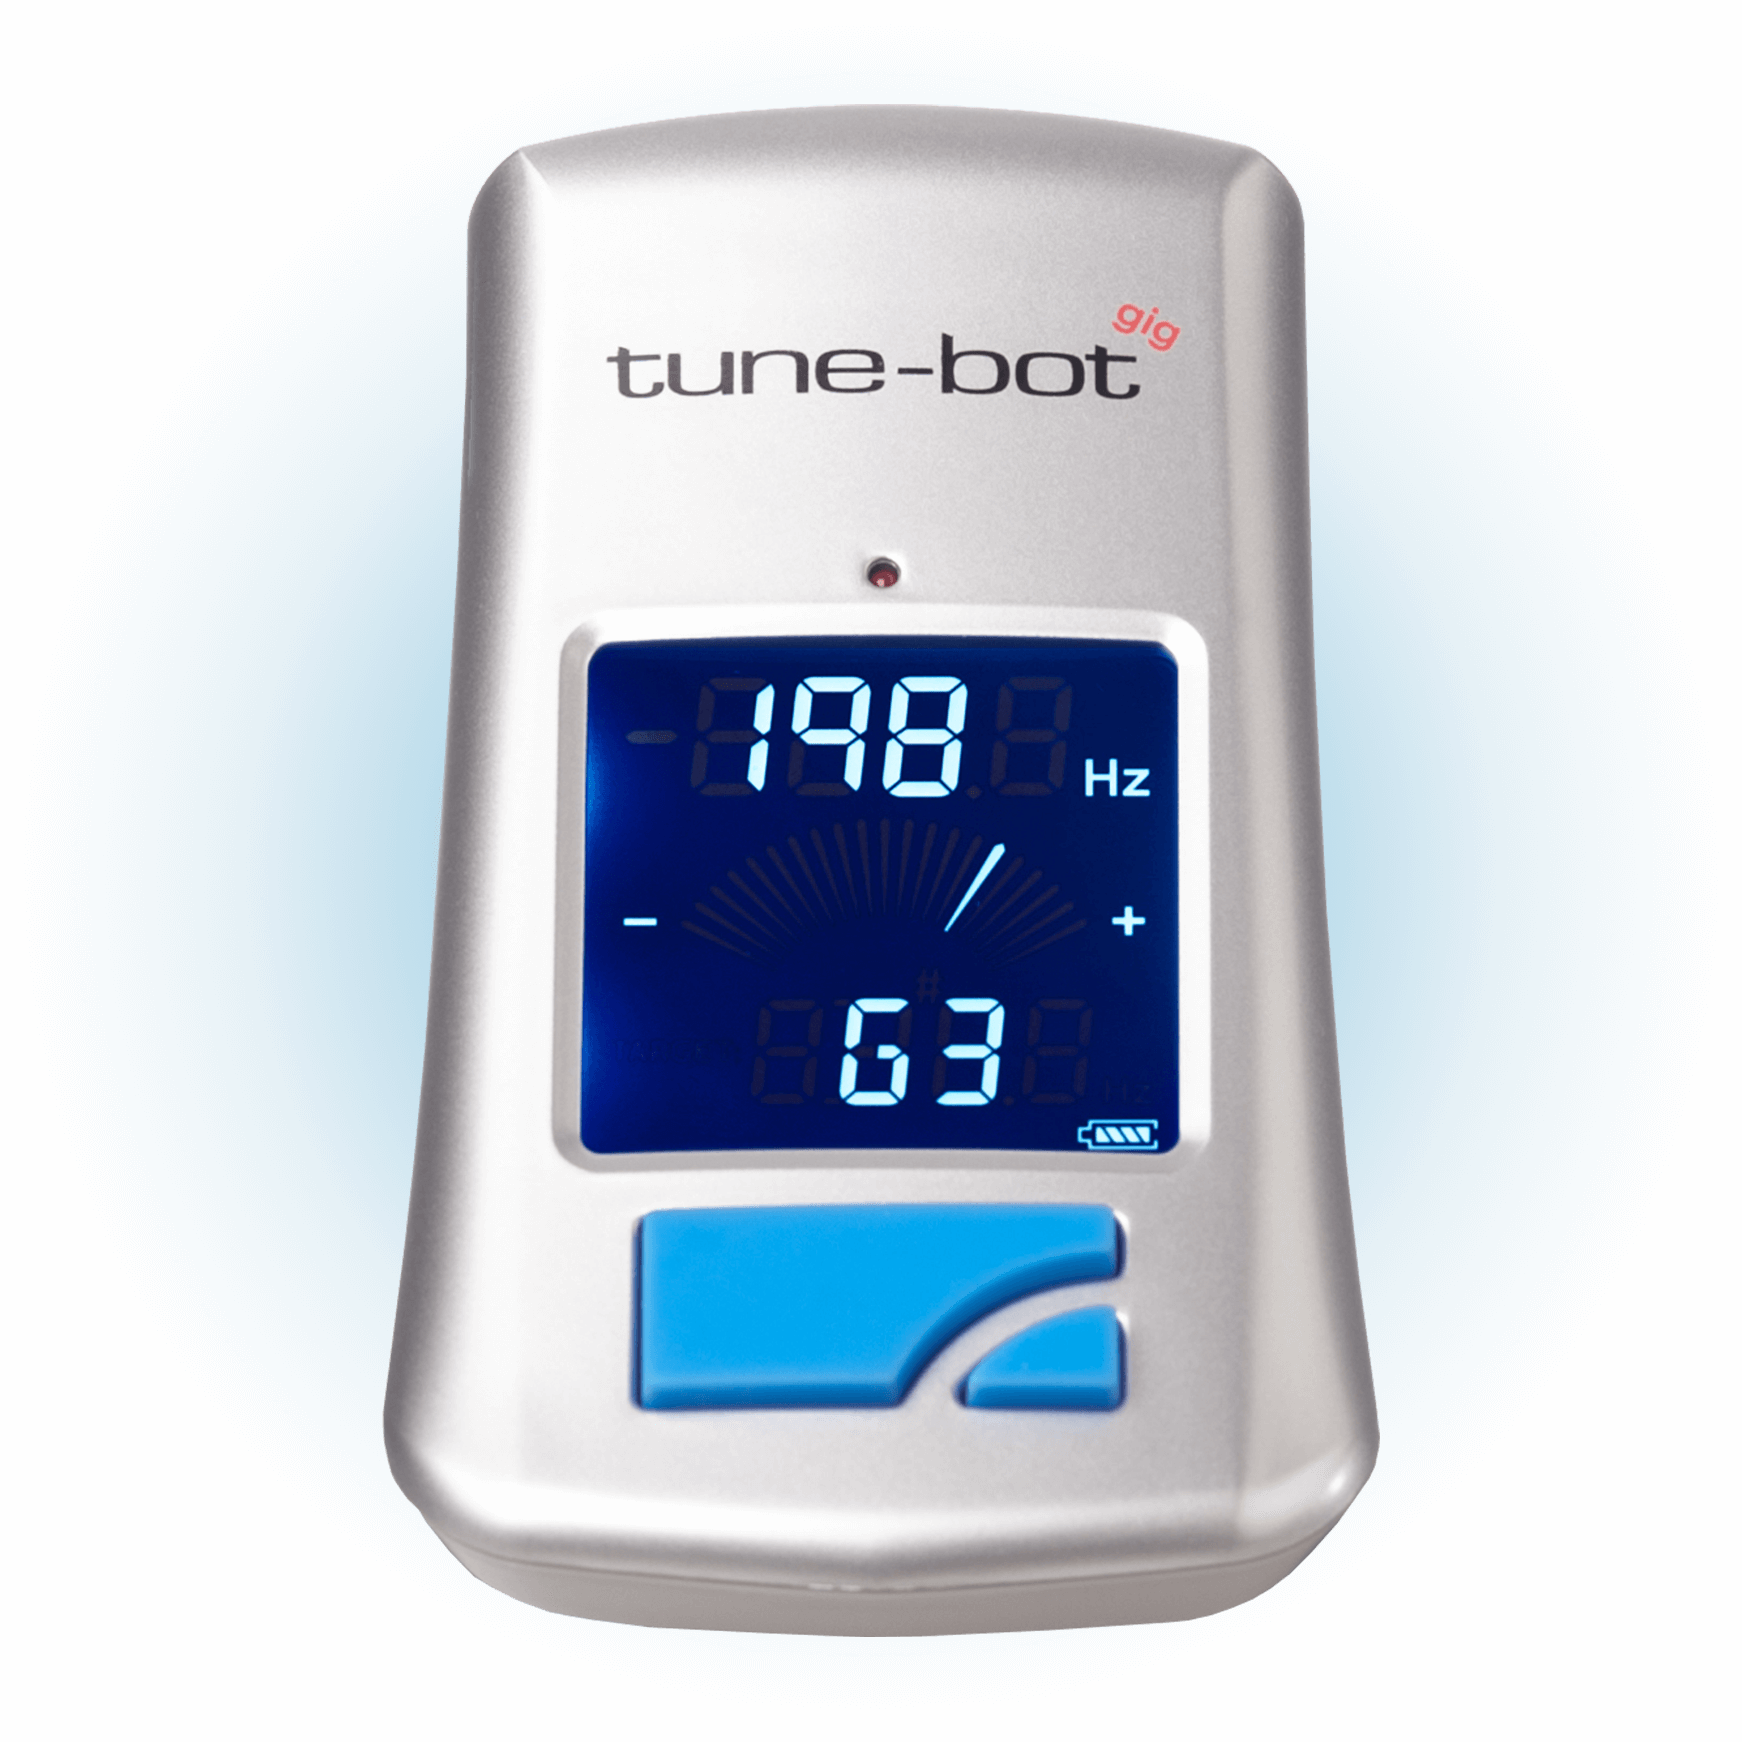
- Tune-Bot Gig
- 2 AAA Batteries
If the Tune-Bot Studio is out of your budget, its lite brother, the Tune-Bot Gig, might be what you’re looking for.
To begin with, it includes most of the Studio’s features in a simplified, single-button toggle design without sacrificing Tune-Bot’s signature accuracy and precision.
Aditionally, Tune-Bot Gig also works by clipping it to a drum hoop and measuring the fundamental pitch, or frequency of a drum.
As a result, features like absolute mode and difference mode are also present in the Tune-Bot Gig, but sadly, the filter mode is missing.
Another important feature missing is the built-in storage to save pitches, which means you’ll need to stick to taking notes if you decide to go with the Gig.
Not as important, but the easy-to-read backlit LCD on Tube-Bot Gig isn’t as eye-catching as the one on the Studio version, thanks to the single-color LCD.
On the other hand, everything else is pretty much the same, including the dimensions, weight, response time, and frequency resolution.
Just like its brother, you can’t use it in loud environments, nor can you tune in complete silence, since it only works when you strike the drums.
Of course, if you need any suggestions, you can find a few, including artist tunings, listed on Tune-Bot’s website and their free tuning calculator app, available for both Android and iOS.
And as mind-blowing as it sounds, it only costs 70% of the Tune-Bot Studio’s retail price, or around $10 more than the original DrumDial.
 Features:
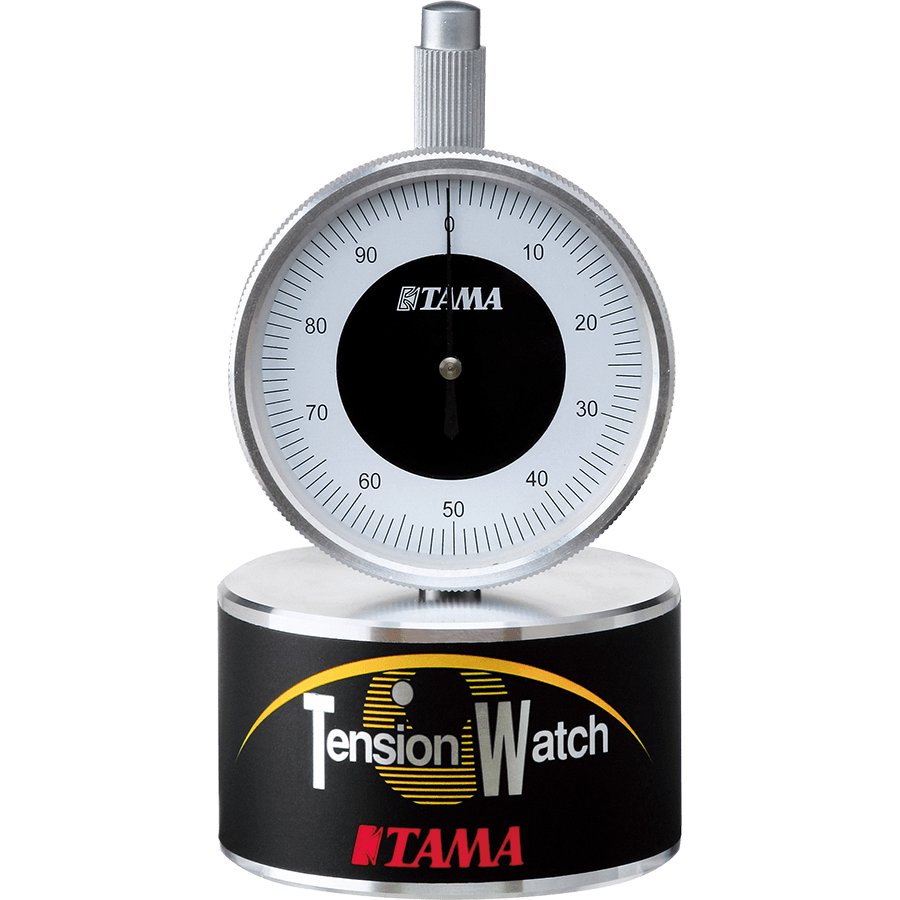
- TAMA TW100;
- Instructions and tuning chart;
- Plastic case with Styrofoam.
No, you’re not having a déjà vu. The TW100 is TAMA’s response to the original DrumDial.
It works the same way, by measuring a drum head’s tension and providing a numeric value to said tension.
For that reason, just like the DrumDial, or most analog drum tuners, you won’t need to strike the drum head while tuning, which means you can tune in complete silence.
Another similarity is the ability to tune in the loudest environments since it measures the tension rather than the tone of your drums.
If the similarities weren’t enough already, you also won’t be able to save any of your tunings.
Thankfully, TAMA provides a piece of paper with instructions, tension samples, and a table to write down the values of your drum set tuning for future reference.
In addition, TAMA TW100 is also impossible to read in darker situations and needs re-calibration from time to time.
Unfortunately, TAMA doesn’t provide the piece of glass to do so, nor the edge cage to maintain the same distance from the rim.
As you could probably tell by now, TAMA TW100 is nothing more than DrumDial with fewer accessories. It’s just as accurate, and a good quality item as well, but why not pick the more complete version?
At the present time, I own one, but that’s because my local music store didn’t have any DrumDials in stock at the time and I settled with TAMA’s version instead. If both options have stock, buy the DrumDial.